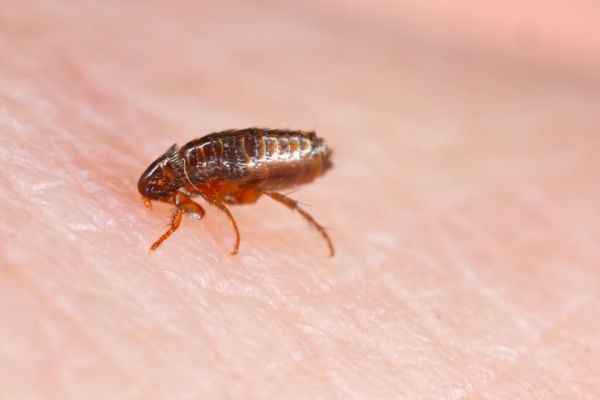
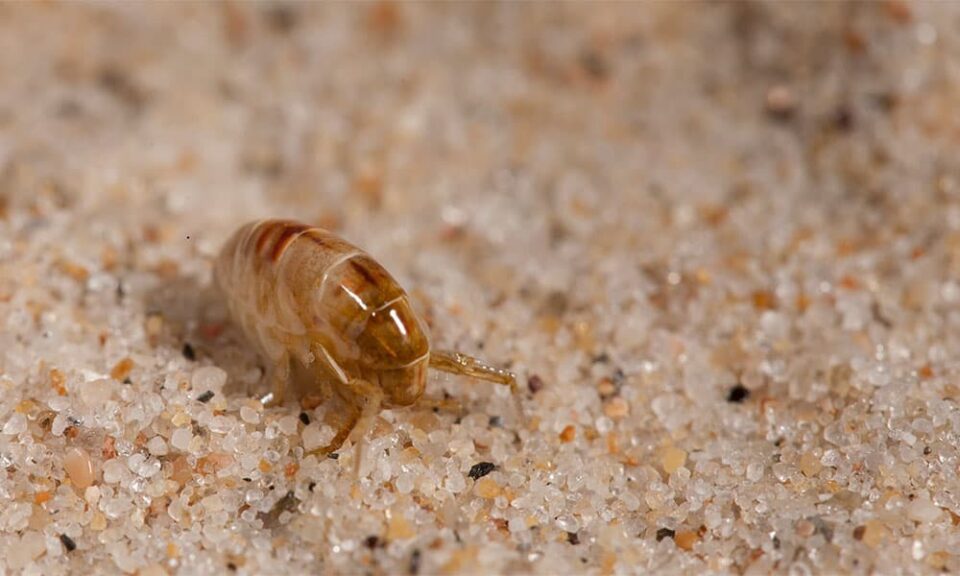
Have you noticed fleas on your pet or small, itchy red bites on your ankles? If cuddling your furry friend has left you with unwanted marks, it’s likely a sign of a flea infestation in your home. While the idea of fleas might make any pet parent panic, there’s no need to worry. By following a few straightforward steps, you can tackle the problem efficiently and restore comfort to your home.
1. Treat All Pets for Fleas
The first and most critical step is to ensure every pet in your home receives flea treatment. Even if you’ve only seen fleas on one pet, fleas can quickly spread between animals. If you skip treating all pets, you risk allowing the infestation to persist.
When choosing a flea treatment, consult your veterinarian to determine the best option for your pet’s lifestyle. Pets that frequently go outdoors or come into contact with other animals are at a higher risk of fleas and may require more robust preventative measures. It’s also essential to understand the difference between flea treatments. Some products only kill adult fleas, while others also prevent eggs and larvae from developing. Opting for a comprehensive treatment can help avoid future infestations.
2. Vacuum Everywhere Your Pet Has Been
Fleas don’t just live on your pets; they leave eggs, larvae, and pupae throughout your home. These stages of the flea lifecycle can linger in carpets, furniture, and other areas, waiting to mature into adult fleas. Vacuuming every area your pet frequents is a crucial step in the battle against fleas.
Be thorough. Vacuum carpets, rugs, hard floors, furniture, pet beds, and even your car if your pets travel with you. The warmth and vibrations from vacuuming can encourage flea pupae to hatch, making it easier to eliminate them. After vacuuming, be sure to empty the vacuum cleaner immediately to prevent fleas from escaping and re-infesting your home.
3. Wash Pet Bedding
Flea eggs are often shed from your pet’s fur and land in their favorite resting spots, such as beds and blankets. Wash all pet bedding in hot water (at least 60°C) to kill eggs, larvae, and fleas. If washing isn’t an option for certain items, consider replacing them entirely or treating them with a flea spray designed for fabrics.

4. Allow Pets Access to Their Usual Spots
While it might be tempting to keep pets away from certain areas to contain the infestation, it’s actually beneficial to let them move freely. A flea-treated pet acts as a walking flea trap. As fleas hatch and jump onto your pet, they’ll come into contact with the treatment and die quickly. Depending on the product you use, fleas can die within six to 24 hours of contact.
You might still see fleas on your pet during this process. Don’t be alarmed; these are newly hatched fleas that will soon be eliminated by the treatment. This is a natural part of the eradication process.
5. Use a Household Flea Spray
To address fleas in your home, use a household flea spray on non-washable surfaces such as carpets, furniture, and curtains. Sprays like FRONTLINE HOMEGARD® are designed to kill adult fleas as well as eggs and larvae, helping to speed up the elimination process. When applying a flea spray, don’t forget to treat under furniture, in crevices, and in hard-to-reach places where fleas might hide.
If your pets have been in the car, treat that space as well. Household sprays should never be used directly on pets. Always follow the product instructions carefully and ensure treated areas are well-ventilated.
6. Understand the Timeline for Flea Elimination
Fleas go through several life stages, including eggs, larvae, pupae, and adults. The pupae stage is particularly resilient, as the protective cocoon makes them impervious to most treatments. Unfortunately, this means that even after thorough cleaning and treating, you may still see fleas for weeks or months as the remaining pupae hatch.
The entire process of eradicating a flea infestation can take three months or longer, depending on factors like humidity, temperature, and activity levels in your home. Be patient and persistent, continuing to treat your pets and home until the infestation is entirely resolved.
7. Don’t Be Discouraged by an Initial Surge
It’s common for infestations to appear worse before they get better. As the treatment works, fleas that were previously dormant may hatch and become visible. This doesn’t mean the treatment isn’t working—it’s a sign that the infestation is progressing toward resolution. Stay consistent with your efforts, and the fleas will eventually be eliminated.
8. Prevent Future Infestations
Once you’ve dealt with the infestation, prevention is key to avoiding a repeat. Regularly treat your pets with vet-recommended flea preventatives. Vacuum and clean your home frequently to remove any potential flea eggs or larvae. Additionally, monitor your pets for signs of fleas and act quickly at the first indication of a problem.
Final Thoughts
Getting rid of fleas in your home can be a time-consuming process, but with persistence and the right approach, it’s entirely achievable. Treat your pets, clean your home thoroughly, and use targeted products to address the problem. By following these steps and remaining vigilant, you can eliminate fleas and create a comfortable, pest-free environment for you and your pets. If you still need more help contact pest control in new york.

